Saturday, December 7, 2019

Kill Team - Campaign Day 1 - Battle 3 (Ambush) Battle Report

Day 1, battle 3.

A group of Orks and Space Marines are rushing somewhere.
The Grey Knights received instruction to not get involved and did not send brothers to the area.
The Necrons, fearing the Orks and the Space Marines were up to no good decided to stop them, because Necrons hate when they do not know what is happening.
The Space Marines and the Orks were as surprised as everybody and both sides assumed the other one was going for the same objective....
Reality was, the Orks were lost and were going to see the big boss to repeat what was the mission and the Space Marines were rushing back to the base because their armor were clogged with last night ration food they borrowed from the Astra Militarum regiment from Neo-Mexico.

The map.
The Ambush scenario is fit for 2 players. We were 3. We decided to secretly select attacker or defender.
The Necron (3 soldiers) went for attacker  and the SM and Ork went for Defender.
The exit was the middle of the Necron's side.
An old factory area in the badlands

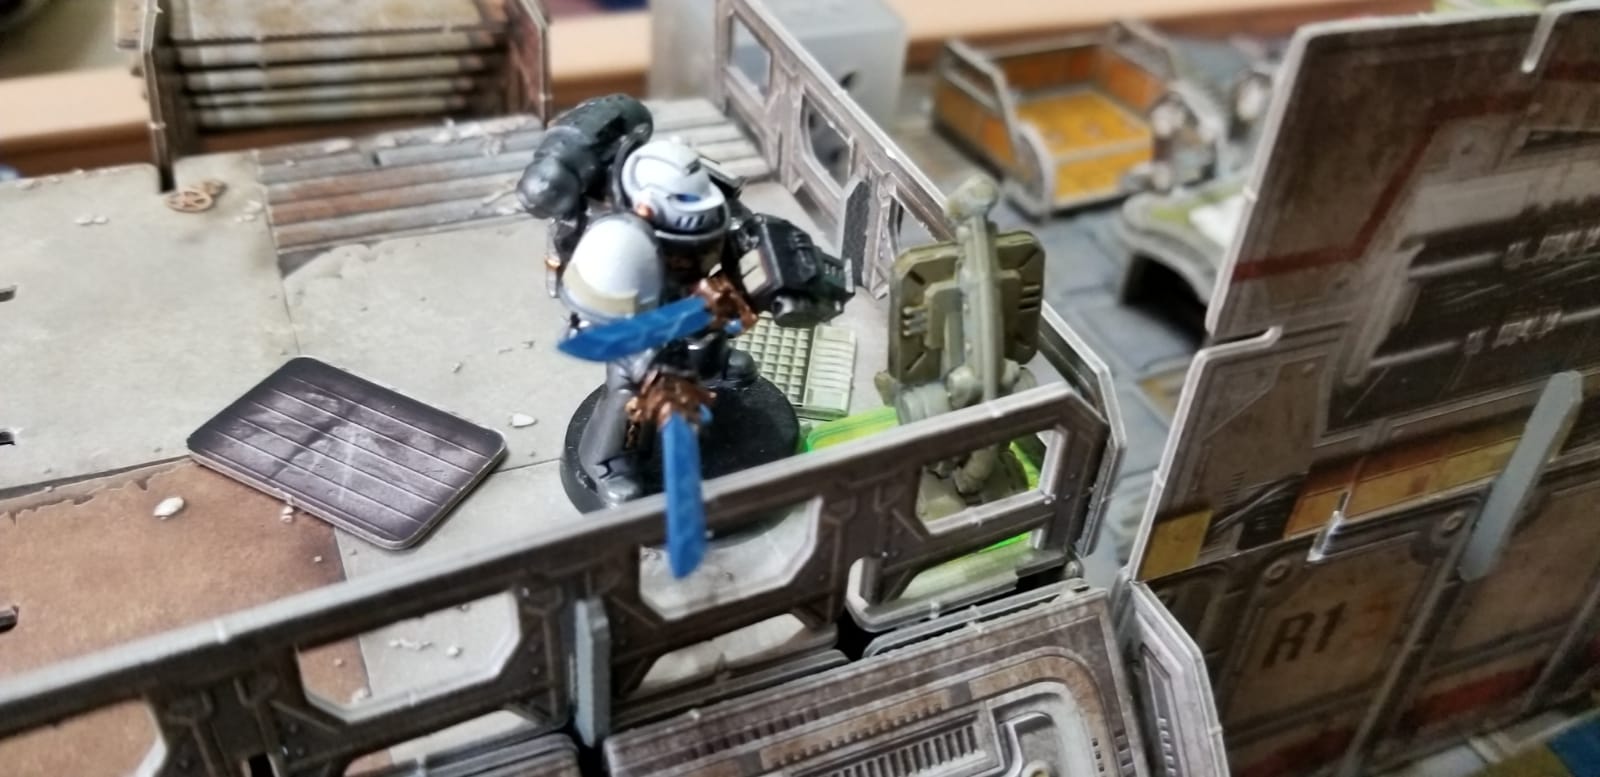
The Space Marines. 1 sergeant (Plasma pistol, Power Sword), 4 SM with 1 plasma, 1 flamer and 2 Bolters.
On the corner, an old bunker station

The Necrons: 3 warriors, 1 with a Sniper
The abandoned management tower

The Orks, kommando only except 1 boy gunner with a flamer.
The Necron took over the area when the workers discovered a lost pylon

The Necron guarded the area. Ready to shoot whatever living things they would see.
For the Emperor! Death to the spicy burritos


Urk, urk... we've hidden Boyz
Kommandos are hard to spot and skilled in camo
SM assigned flamer and plasma to slow down the Greenz
If they no see uz, they no shoot uz

Turn 1, Orks and SM rushed. 1 mad ork charged the flamer, and survived.

The plasma is unable to assist but he was confident the SM would
Leader, why are they running toward us? Aren't they supposed to run the other direction?

But the mad Ork was better and the flamer was out of action.
Turn 2, the SM are close to the exit and hid in the bunker, out of sight of the Necron sniper.
The plasma courageously hid behind a wall, running away from the mad Ork

The Ork closed in the exit, outnumbering the Necrons
The Necrons fell back, ready to deny the exit. Shooting on all sides was ineffective.
Contact~~!
Turn 3, the Orks piled up in melee against the Necron Leader.
Meanwhile the two other Necrons shot Orks and SM alike without effects.
The SM were close and tried to kill Orks who threatened to win the party
Meanwhile, far from the main battle, the mad Ork rushed to the middle of the map, followed by the plasma who kept on missing.

To everybody's surprise, the solo Necron survived the melee against 3 Orks Kommandos

The Orks were so angry that they forgot the main mission (exiting) and dedicated themselves to kill the Necron leader.
The SM exited 1 trooper, but they needed at least 3 out.
We rolled for a 5th turn, and it was a no.
Full victory for the Necrons (3pts).
The Orks forgot the mission, and the Space Marine will spend a good day cleaning the effect of the Supreme Burrito.


Sunday, December 1, 2019

Kill Team - Campaign Day 1 - Battle 3 (Ambush) trailer

A quick video done by the kids while the commanders were enjoying a little drink before starting the hostilities. Battle report soon.


Note: we played battle 3 before battle 2 as the Gk had not sent units to fight this battle.

Tuesday, November 26, 2019

Kill Team - Campaign Day 1 - Battle 1 (Swipe and Clean)

Day 1:
Battle 1: Swipe and Clean <-- report
Battle 2: Terror Tactic
Battle 3: Ambush
Battle 4: Recover Intelligence

The system Hech Kay saw the collision of multiple divergent forces. The resurrection of long dead Necron, a Greenskin Waagh looking for more teeth, the involvement of the Space Marine chapter of the "Tunnel Rats" Space Marine chapter and the presence of mysterious chromed space marines (nicknamed "The kéké tunning guys from Lille" by locals) all embroiled in a survival fight for dominance.

Far from the main battlefield where many senselessly would die, every leader came to the conclusion that a remote moon held the key of final victory.
Each protagonist sent a small force to the moon.

Day One, Battle One: Swipe and Clean. 
Take objective (3points) and kill enemies (1pt)


Battle systems mats and terrain, Mah Jong table

Deployment
 
Ignore miniatures :-)

Grey Knight (2 units) - 40pts

Note that the GK show their back and hide on the top right corner to avoid being photographed
Redacted, Grey Knight, Glaive pair
Redacted, Gunner, Psycannon,  Heavy

Ork (6 units) - 55pts
The Fashion Week, the Ork way
Boz, Boss Nob, Kombi Skrocha, Leader
Dak, Loota, Heavy
Urk, Boy Gunner, Big Shoota, Veteran
Blurg, Boy, Shoota
Blorg, Boy, Shoota
Sinika,  Kommando, Slugga/ Chappa

Necron (3 units) - 48pts
the rise of the Machine
Lor, Immortal, TC, Veteran
Pak, Immortal , Comms
Sadi, Immortal, Leader

Space Marine (2 units) - 25pts
One Space Marine and his apprentice
Bash,  Tactical Marine, Demolition
Eagle Eye, Scout with Sniper, Marksman

The game lasted 4 turns.

Turn 1 key moment: 
Few shots exchanged. The GK and the SM decided to have an unofficial truce as they were less, held their objective and could not reasonably threat the other.
The sniper got hit by the GK on the first shot and Eagle Eye decided to aim elsewhere as a show of good faith

The Ork sent one lonely guy to take the GK objective but that Ork quickly left.

We all believed that Ork went to relieve itself in the corner...
Bash played safe by behind out of sight most of the game
the Necron menace is slowly approaching

Turn 2 key moments

The Orks decided to play aggressive/passive, bringing back the one who went peeing and another one behind the Necron.
Hey! [REDACTED] you will not believe what I saw. There was an Ork peeing below. 

Where can I move my Ork? The Shack!
The Ork by the Window, an Oscar nominee for most Daring Ork Move under the line of sight of 3 Necrons.
Both Orks did not survive the turn. the other 4 stayed well behind cover.
Most Orks will stay within the base, out of the line of sights of the GK and SM.

The GK bravely shooting from their objective
The Ork prepare their coming out (I knew it!)

Turn 3 key moments
All the Necron became bullet magnets with impressive result.
Almost all injury rolls had the same sequence:

  • first roll "1", take a flesh wound.
  • second roll "6", recover from all flesh wound
  • Start again
Small victory for the Ork who dispatched a Necron, threatening the Necron's objective.

The GK and the SM were playing safe, securing their objectives while shooting from far
The Orks still had most of their units on the ground.
The Orks decided to get rid of the Necron once and for all

Turn 4 key moments
The Ork strategy almost paid off. The Ork went on denying 3 objectives out of 4 with the opportunity to gain some
That Ork denied the Necron objective

That Ork fought for the Ork objective
Another Ork went to deny the GK objective.
The sniper aiming for victory.

The Ork at the GK objective was shot down by the SM, while the 2 other fights did not end with a winner.


End of game
The GK held their objective, the SM (Bash) secured theirs, Orks and Necrons mutually contested each other


Add caption

GK: 5 points (1 Objective, 2 kills)
SM: 4 points (1 Objective, 1 kill)
Ork: 1 point  (0 Objective, 1 kill)
Necron: 1 point  (0 Objective, 1 kill)