

The imperial pressure on the Candor system is increasing.
Reinforced by elements of the system fleet,
the Rebel have decided to engage an imperial strike force
for the control of a small outpost at the edge of sector 4...
 |
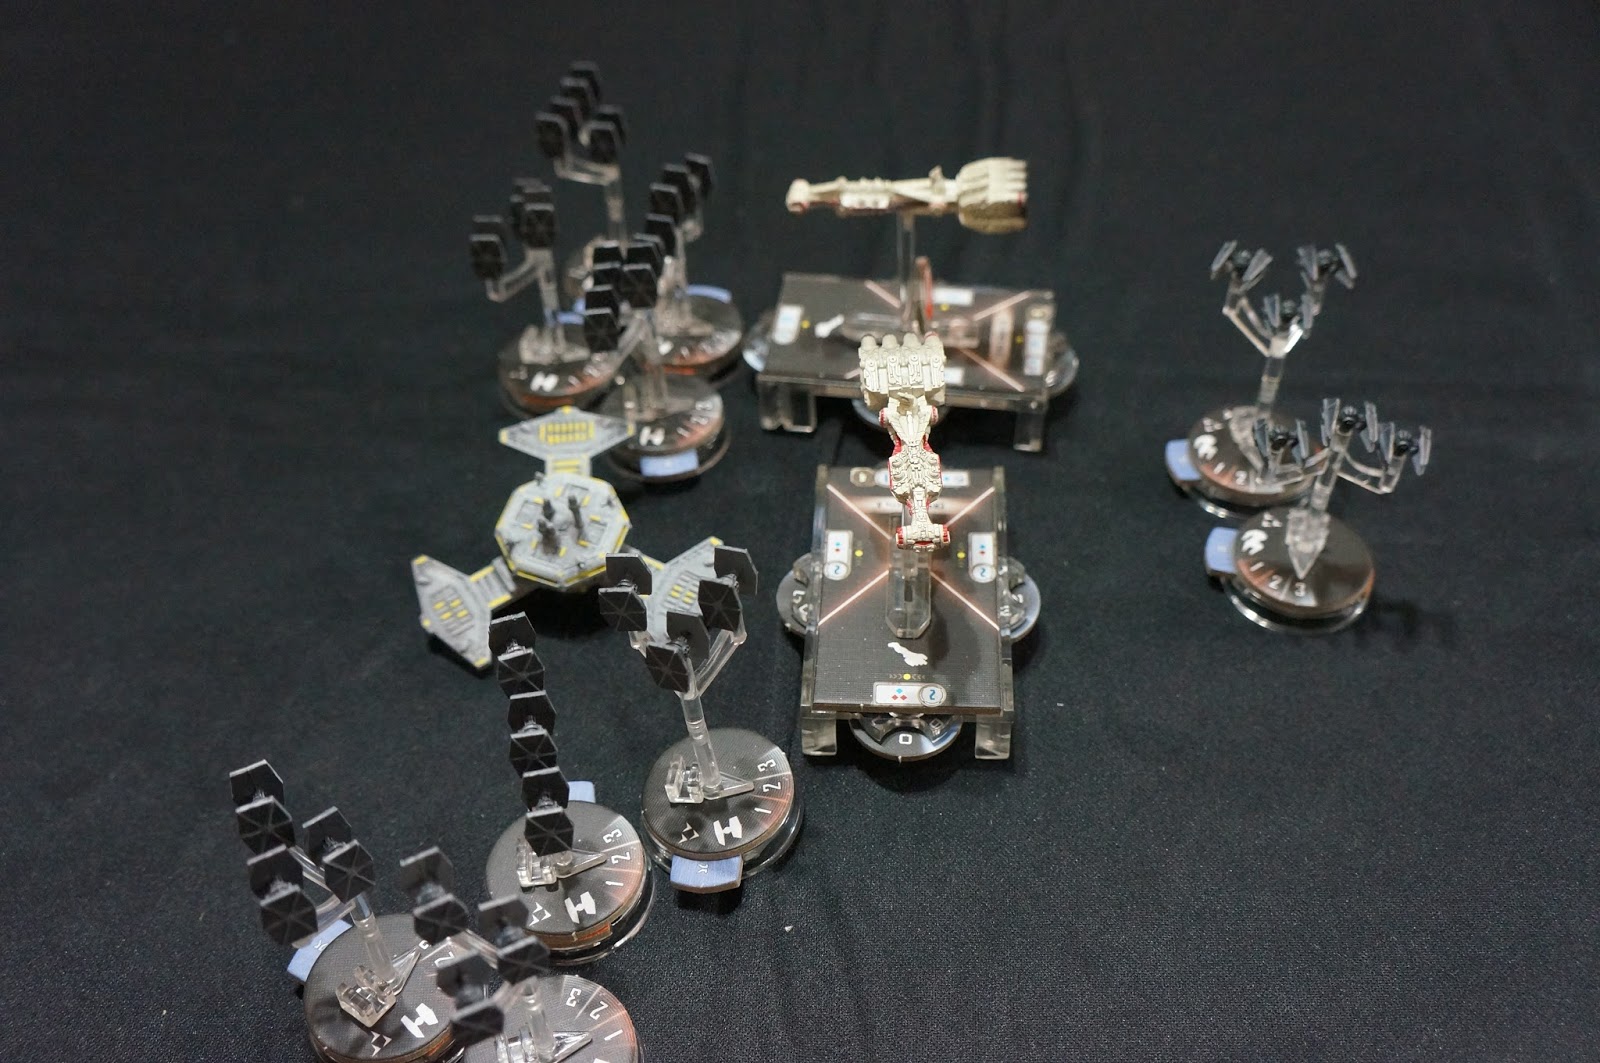
| Rebel Fleet. 3 corellian corvettes and 2 squadrons |
 |
| Kronenbourg's gun card: Leading Shots. It may prove handy |
 |
| Imperial Strike force |
 |
| Assassin-class with Electronic Countermeasure |
 |
| Mission: Contested Outpost (randomly drawn) |
 |
| 2 different strategies: The Blogo Hammer and the Corellian Run |
turn 1 (3,1)
"This is commander Windor of the Empire. Lower your shields and stop your engines. Surrender now and we will show mercy. You stand no chance against our force."
The rebel commander smiled back to the imperial commander.
"I was going to propose the same thing to you. Hand us your ships and we will take care of them better than you."
The imperial commander did not expect the reply and the communication cut. The rebel commander looked at his crew and open broadcast communications to all rebel ships and fighters.
"Seems they are not listening to reason. All crew to battle stations. We'll make them pay Hoth!"
A hurray echoed in the ship and in the communications.
"At least, the spirit is here, let's make sure we get away from there alive" thought the commander. He knew the battle was going to be tough.
With both winning initiatives, imperial and rebel moved full speed ahead. Shield and Carlsberg were the first within the perimeter of the station. Both shot at each other, dealing significant damages on their shields. Kronenbourg took the opportunity to target Shield and it critically hit. Despite the damages, Shield hold on.
Imperial get 1 Victory Point as Shield has a higher value than Carlsberg.
 |
| Shot advantage for the Rebellion, but the Empire contest the outpost successfully |
turn 2 (5,2)
The Shield's commander looked at the crew as some had been thrown on the floor by the impact.
"Officer, please have some dignity. Damage report!"
"Starboard hull has been damaged and shield not back up yet."
"Turn to starboard and show our port. Disable the Carlsberg and order Sword to take away Kronenbourg."
The imperial strike force replied immediately by performing the complex move.
The rebel commander looked as the imperial were showing no hesitation.
"This is an elite force. We have been tricked. This is not some rookie units as intel told us" For a moment the rebel wavered.
"Show our protected side." then sent a message to the other 2 corvettes. "All aim at Shield. No respite until taken down. X-wing and A-wing, stay in reserve. That will make them think."
Shield and Kronenbourg shot each other, and both front shield went down. Carlsberg shot also but barely damaged the unprotected hull.
The Corona's officer looked at the approaching mass of tie fighters. The gunnery officer looked at him.
"Commander. Who do we shoot?"
"Fire at will at Shield. Hopefully, the tie will be nothing more than mosquito's bite."
The Corona aimed and shot at Shield. Shield could not resist to more damages and the ship exploded.
Kronenbourg and Carlsberg shot at the other imperial corvette, Sword destroying its front shields and heavily damaging it (2 dmg). But is did not lower its resolve to fight.
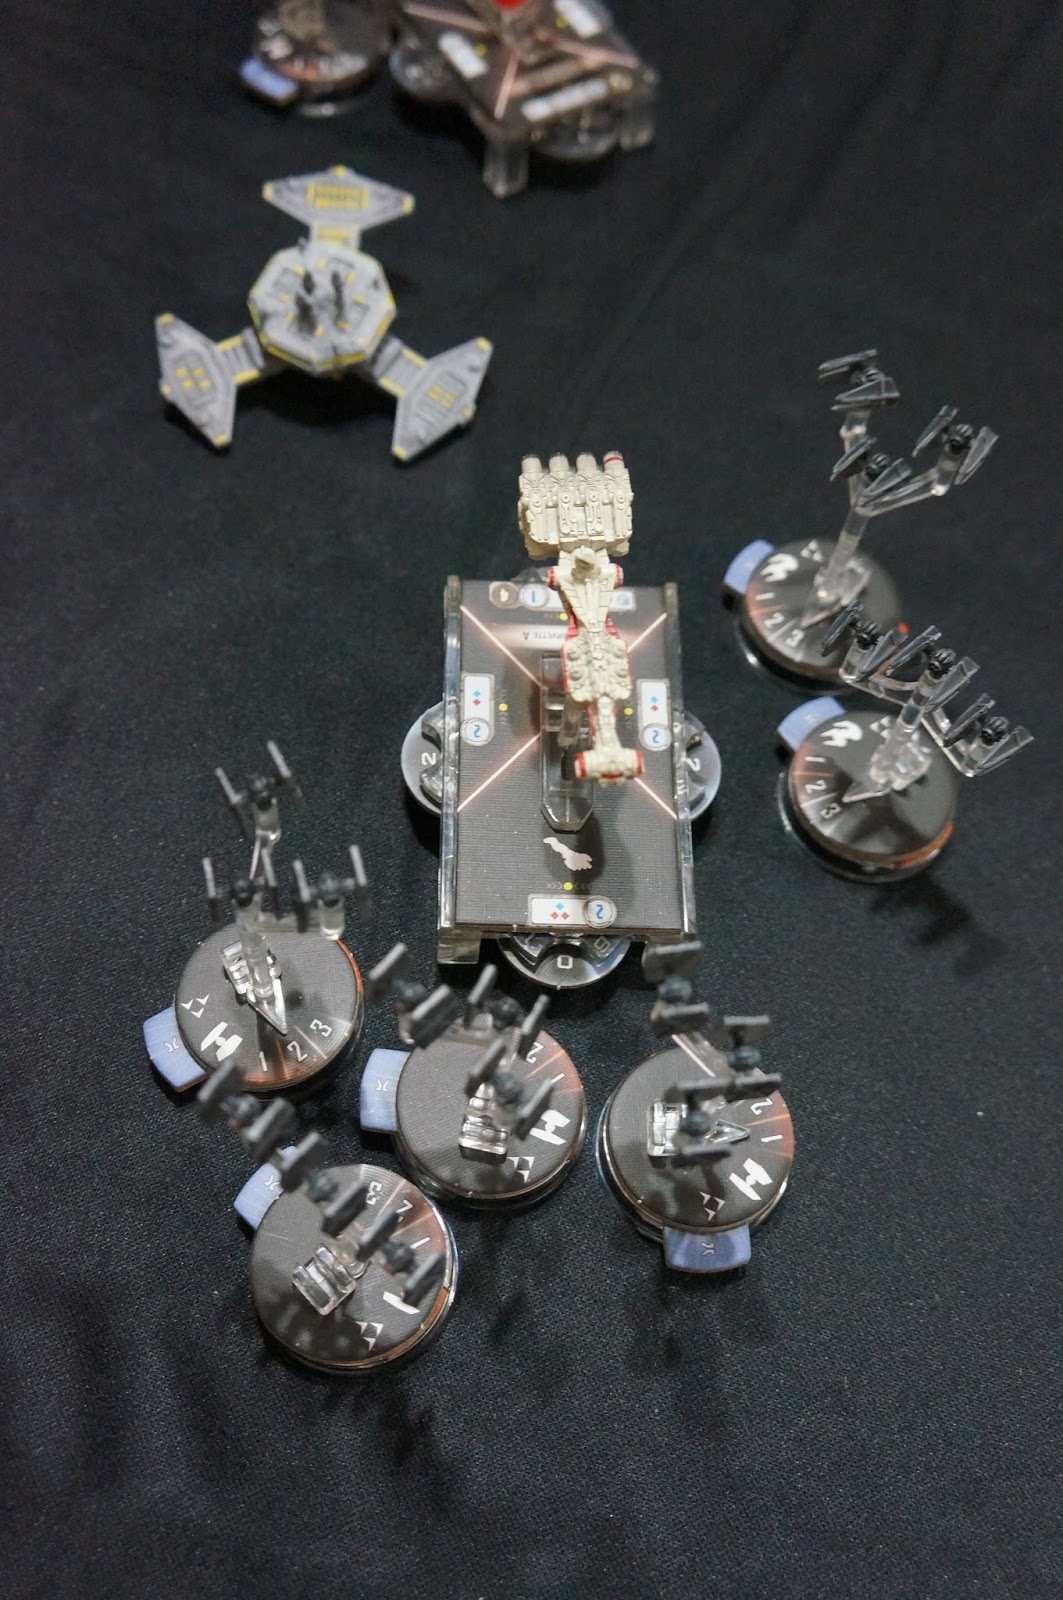
The tie fighters headed to Corona and disabled its front shield before breaking up their formation. As Corona was focused on Shield, it could not do more than taking the hits. Meanwhile Kronenbourg was receiving damage from the fighters as its shield had been destroyed previously by Sword.
The Tie interceptors showed their high speed and agilty by hammering the X-wing in
their back of the triangle. The X-wing stood no chance and were reduced to stardust in a second.
Rebel 2 victory points (Shield destroyed, and 1 point of the Outpost)
Rebel 2 victory points (Shield destroyed, and 1 point of the Outpost)
 |
| Melee. The corvettes exchange heavy fire while the rebel fighters failed to engage |

turn 3 (6,6)
The commander of the Sword was sweating a lot. The different alarms were deafening. The bridge staff was reporting each system failure like a shopping list.
"Section 12 breached"
"Section 13... breached"
"Section 14 up, 50% casualties"
Only the main armament was operational. At least, he will not let go the rebel so easily. He had spent his lifetime fighting these terrorists, avenging his family lost during a uprising on Sullust.
"Fire, fire at will. We will not go down alone!"
At the same time, the crew on the Kronenbourg was readying itself.
"Shield up! I repeat, the engineering brought front shield up"
The crew relaxed, but the commander remained silend. It was still a Sabbac gamble. There was a much chance to stay alive than being destroyed.
Both corvettes shots hit the other one hard and both exploded exhausting fireballs and debris all around.
the Kronenbourg passed its engineering test (Engineering 2 for the Corvette A means rolling 2d6, and it needs both dice to be 1 or 2.
Meanwhile, the last rebel fighters were destroyed by the rampaging tie interceptors.
Rebel +1 VP
Imperial +1VP
Rebel +1 VP
Imperial +1VP

turn 4 (6,5)
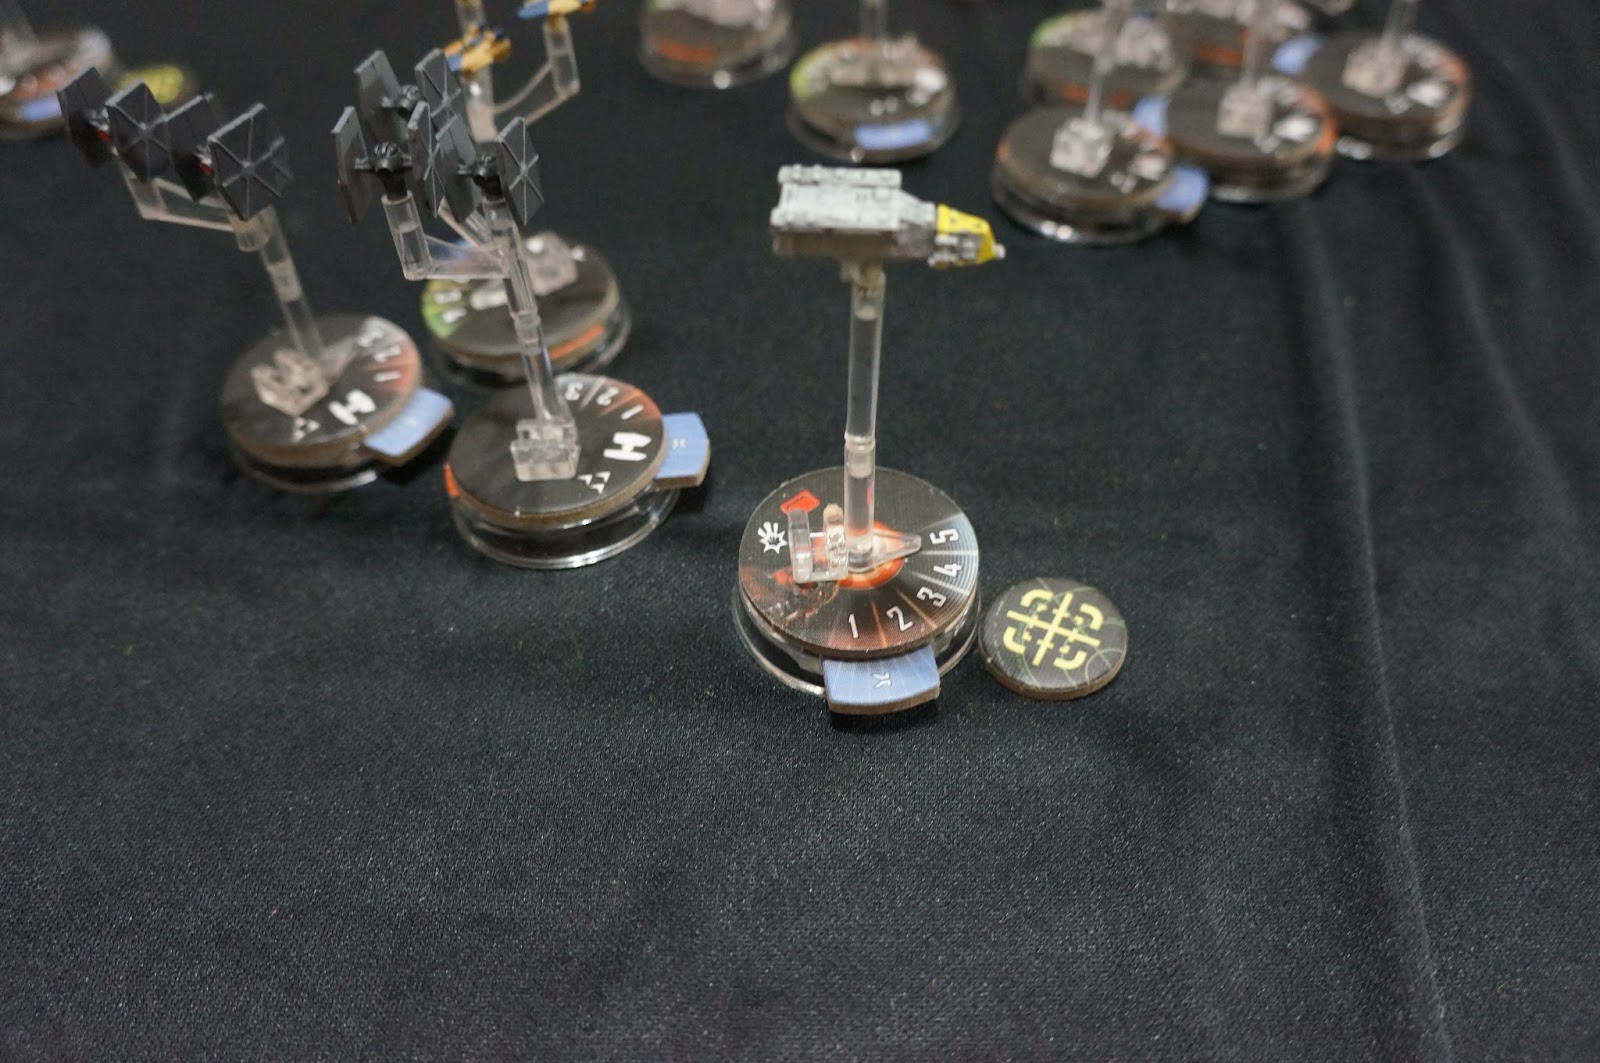
The rebel leader looked as the AA batteries inefficiently shot the tie fighters.
"We won't be able to hold any longer. The tie fighters are not strong, but in number they are dangerous. Tell the Corona to jump in hyperspace. We try to catch as many survivors as we prepare to jump too. Our main objective is fullfilled. And get the engineering to bring the shields up."
An ensign raised his head to the leader.
"1 minute to jump"
He acknowledged and as a new group of tie fighters was strafing the corvette, he said "May the Force be with us"
 |
| Surrounded by Tie, the corvette leave before they get destroyed |
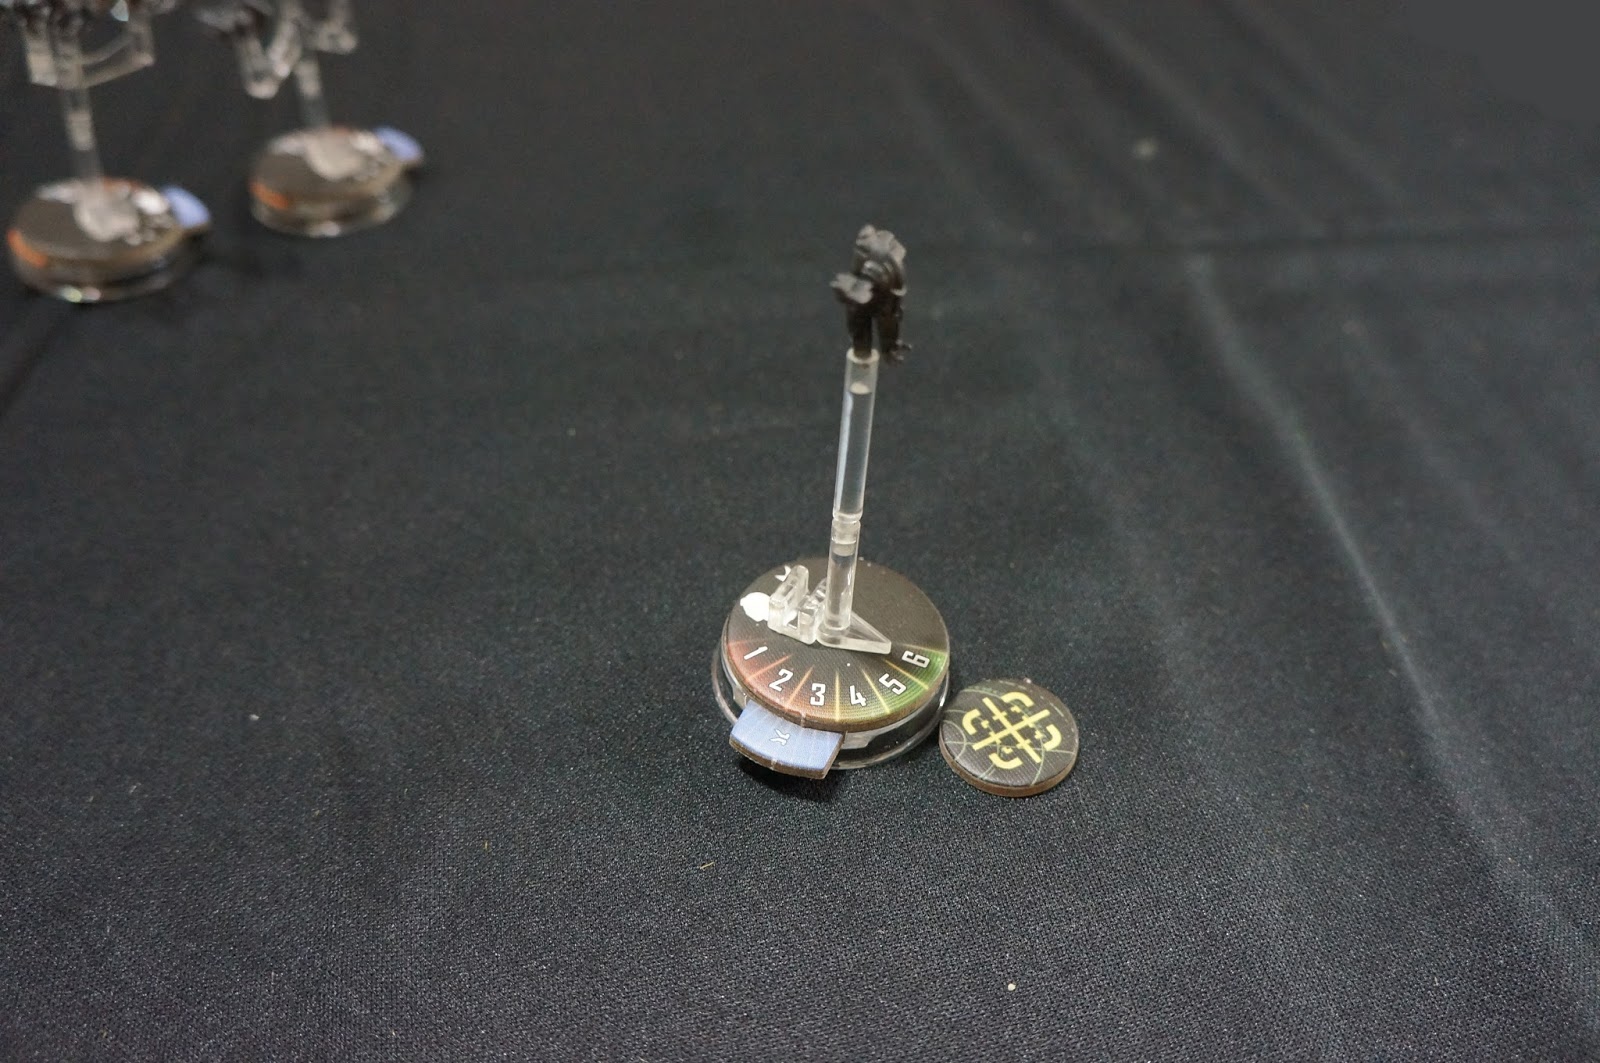
turn 5 (6,5), turn 6 (4,5)
Both corvettes slowly moved toward jumping points while the tie fighters tried to destroy the rebel spaceships without success.

 |
| ready to jump |
 |
| Ready to jump |
Rebel: 4 VP (2 space ships and 2 turns on the outpost)
Imperial: 2 VP (1 space ship and 1 turn on the outpost)
Left all tie interceptors and figthersbut 1


